In the last year or so, I’ve transitioned from blogging about fashion to primarily blogging about beauty. I never do anything half-assed, so I have gotten serious about perfecting my makeup application. If you go back and visit some of my older posts, you can see my technique improving over time! I’ve learned most of what I know from studying Youtube videos and of course lots of practice and experimentation. Here are 5 simple tips I’ve picked up this year that have made a huge difference to my makeup game.
A Cheeky Blend
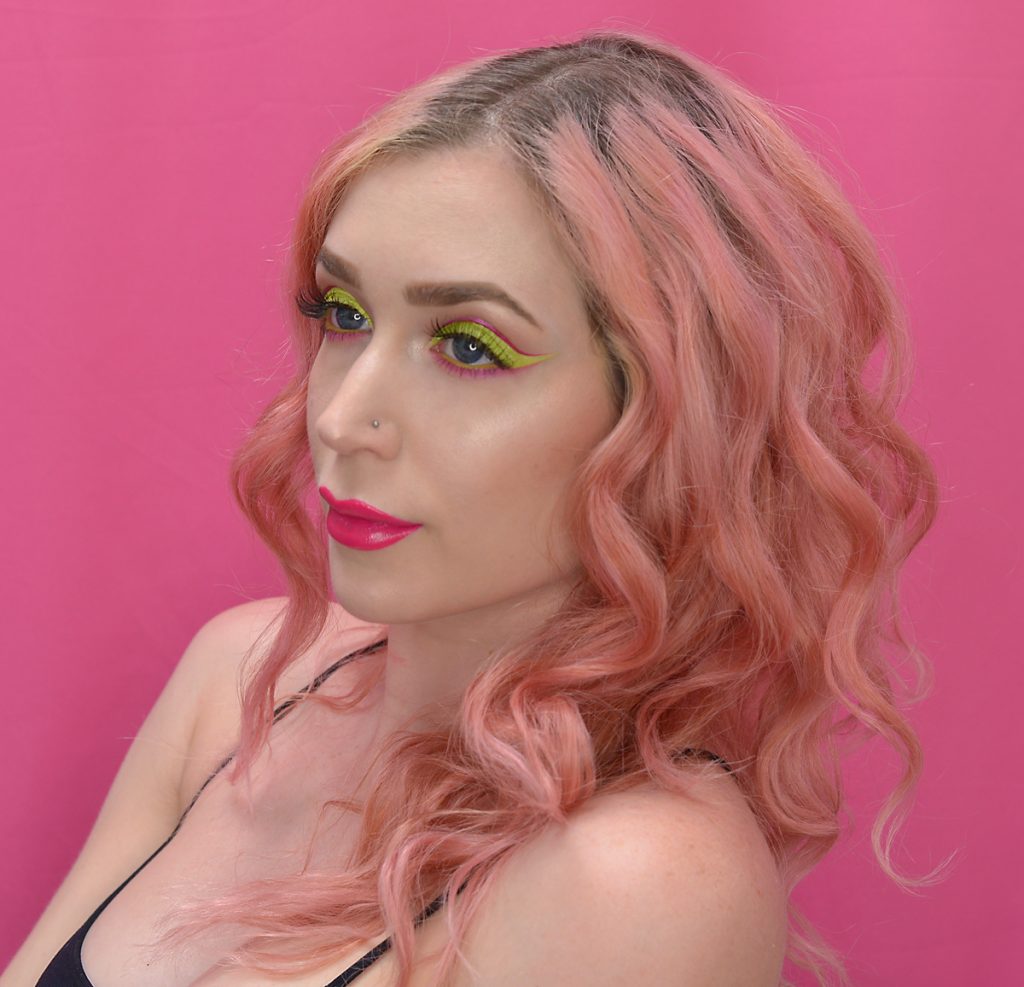
Up until a few months ago, I always applied my cheek contour, followed by blush/bronzer, and then finished with highlighter. I recently discovered that, in order to achieve the softest transition, it actually looks best when I apply contour, then highlight, and then finish with blush/bronzer. Think of your cheek highlight and contour as two stripes. If you apply your blush and/or bronzer last, it will soften the lower edge of that highlight stripe and the upper edge of the contour stripe and create a perfect blend.
Carve Those Brows
I’m still working on perfecting my brow routine, but recently I picked up a tip that has made a huge difference for me. In order to get super precise edges on your brows, using an opaque concealer or matte cream highlighter is a must! Outline the upper and lower edges of your finished brows with the concealer or highlighter. You want to use a product that is either your skin color or 1-2 shades lighter. The lighter it is, the more dramatic and lifted your brows will look! My favorite product to use is the Wet N Wild Brow Highlighter because not only is it super light, but it is in pencil form so I can carve a really nice precise line around my brows. Once applied, blend the outlines out into your foundation with a flat brush and/or a beauty sponge.
Say No to Baking
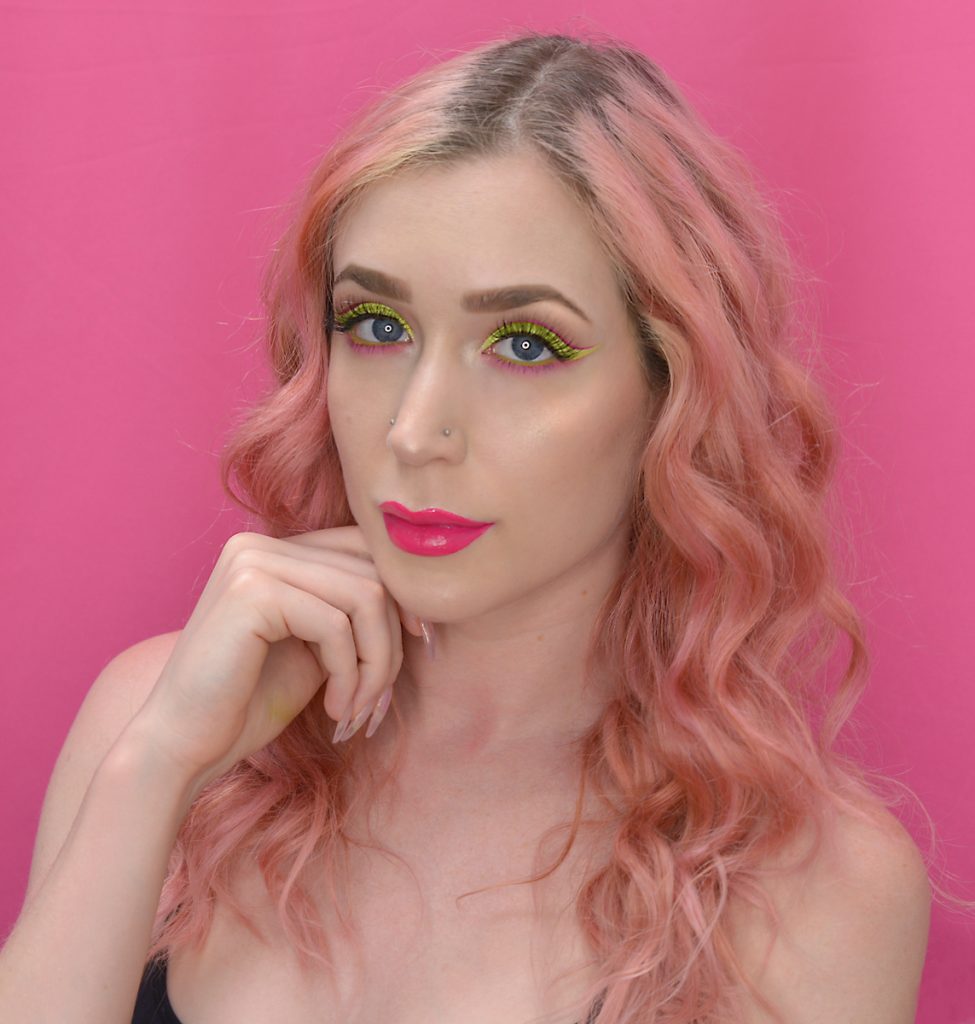
Though watching Youtube videos is immensely helpful for learning and finessing your makeup application skills, you may see some commonly used techniques that don’t work for your skin. It is important to keep an open mind while practicing the techniques you see, and realize that some may need to be tweaked. Baking is a great example. In case you are not familiar with the term, baking is when you set your concealer or foundation by packing loose powder on top, letting it set (or bake) for several minutes, and then dusting away the excess. The point of this technique is to absorb any extra moisture or oil in the liquid product beneath, which will keep it from creasing or smearing throughout the day. The issue with baking is that it can cause your makeup to look very dry, thick, and cakey. In my case, it greatly exaggerates fine lines under my eyes as well. I have realized that I prefer to set my foundation and concealer with a very light dusting of powder applied with a brush, which results in a softer, more natural appearance.
Finding the Right Tools
I can’t even begin to tell you how much my makeup game improved once I finally got the right brushes. I used to only have a handful of brushes because I wanted to have expensive fancy ones, but I didn’t want to splurge on buying very many! I tried to make those brushes multitask, but they just weren’t designed for the tasks I used them for. In recent months I have found that I think it’s better to have a large variety of cheap brushes (NYX and Eco Tools are great cruelty free options). This allows you to experiment without spending a lot, and find which shapes really work for you. Once you find out which shapes and styles you are reaching for over and over, you can always upgrade those to high end versions if you want to!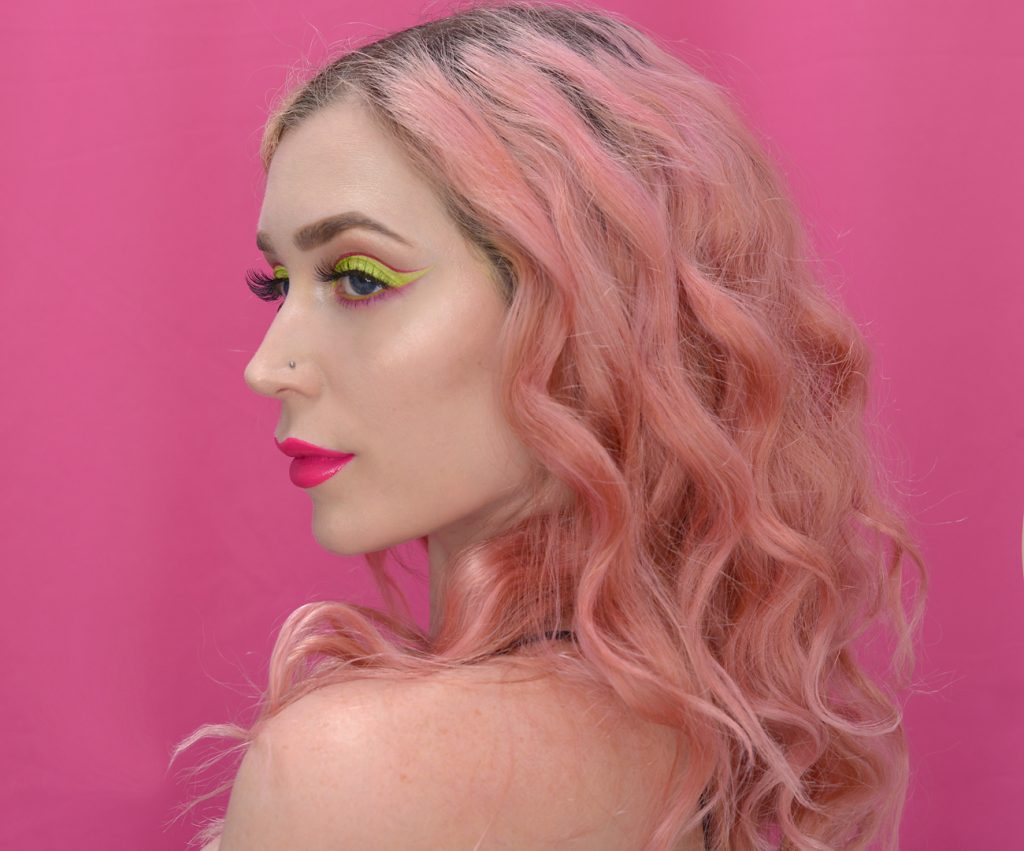
Lighting is Everything
One of the toughest parts of makeup application for me has always been lighting. If you do your makeup in a bathroom with dim, yellow lighting, you barely have any idea how your finished work will actually look outside in natural light. I am lucky to finally have a bathroom now that has tons of bright natural light, but I still go and stand right by my window with a mirror when I’m blending my eyeshadow. If you don’t have the option of using natural light when you apply your makeup, consider buying a lit makeup mirror like this amazing one from Simple Human that simulates natural light!
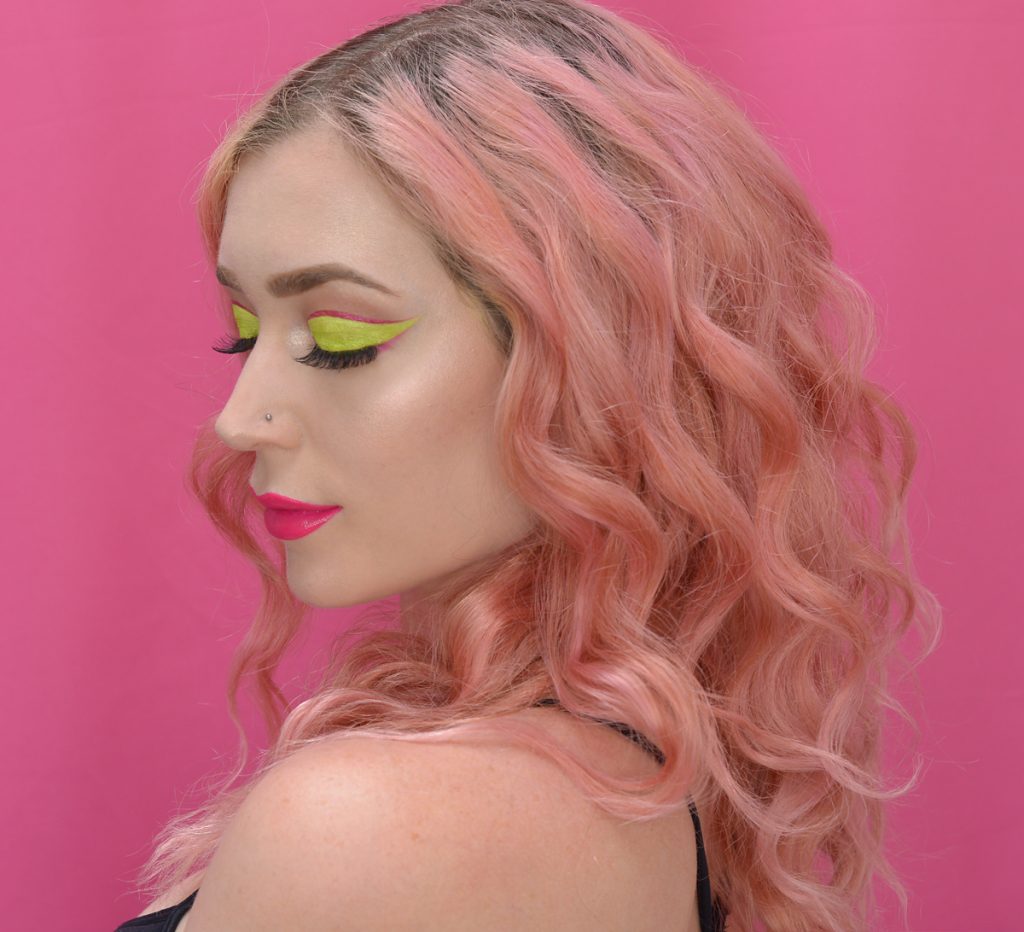
Makeup Details
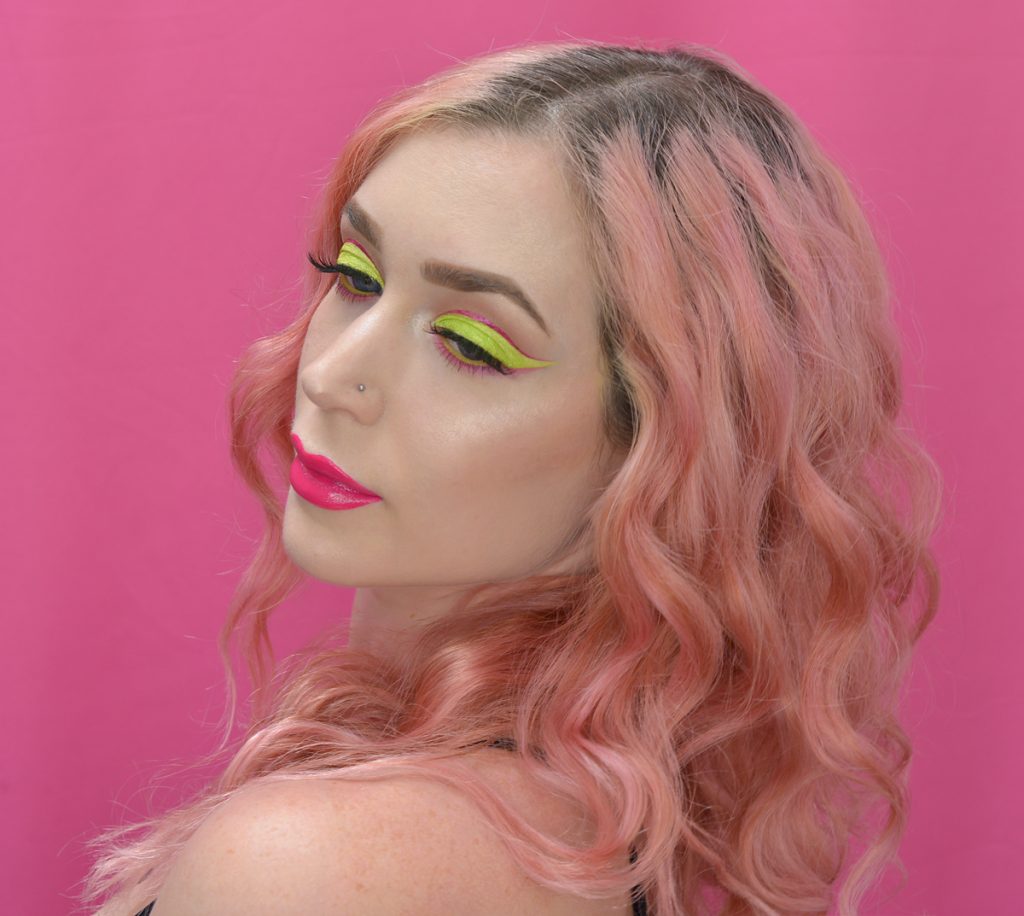
Face
Cle Cosmetics Air Cushion – Fair
Hard Candy Glamolauge Heavy Duty Concealer – Ultra Light
Pop Beauty Velvet Powder Base – Fair
Physician’s Formula Bronze Booster – Matte Sculpting
The Balm Balm Beach – Warm It Up
Jeffree Star Skin Frost – Ice Cold
Cover FX Illuminating Setting Spray
Eyes
Urban Decay Primer Potion – Freebase
Wet N Wild Poster Child Eyeshadow Palette
Urban Decay x Basquiat 24/7 Glide-One Eye Pencil – Post Punk (discontinued)
Urban Decay Razor Sharp Liquid Eyeliner – Junk Show
Lips
Wet N Wild MegaLast Liquid CatSuit Lipstick – Oh My Dolly
Eddie Funkhouser Hyperreal Hydrating Lip Gloss – Belle De Jour


Jen Mathews says
These are really great tips! I’m going to try adding blush last and see how that works for me. I’ve always hated baking! It makes any pores or fine lines look huge and it just looks caked on for me. And I can say that Simple Human mirror is the best one I’ve ever tried (and I’ve tried a lot!). 🙂
Emily says
Yessss you sold me on that Simple Human mirror when we used it at your house!