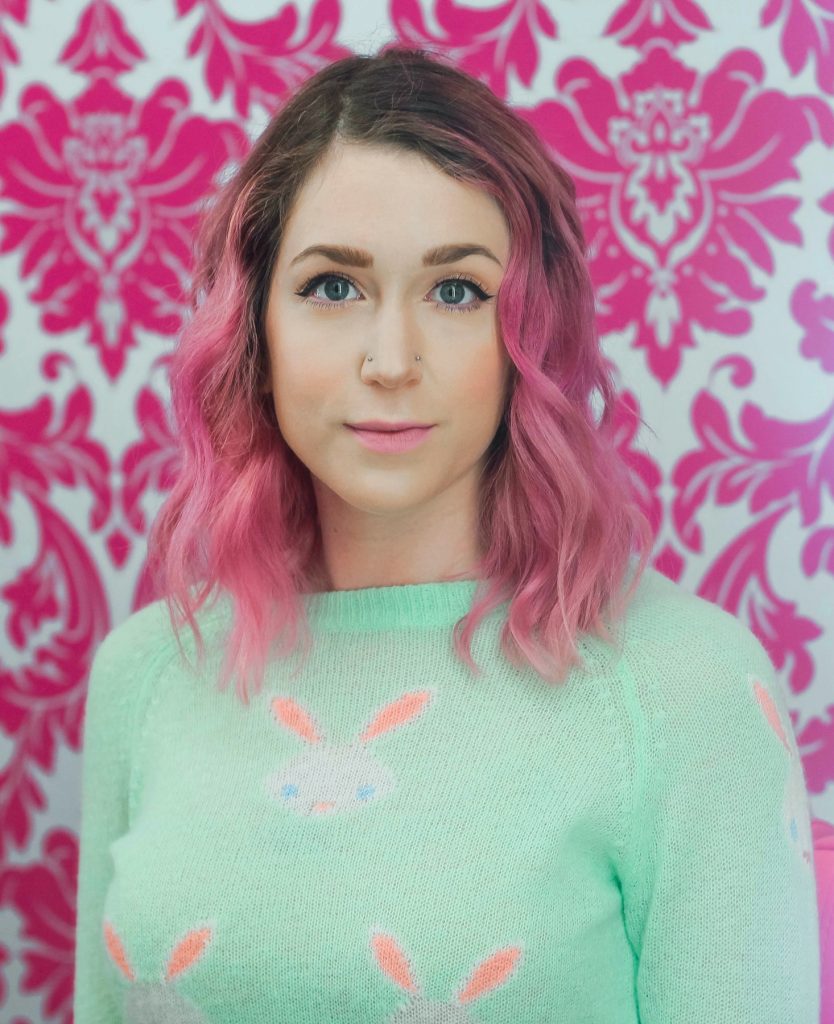
Color correcting is a seriously trending topic right now in the world of cosmetics. For those of you who are not familiar with the concept, it refers to correcting complexion issues with an opposite-colored concealer. The hue of this concealer cancels out the blemish using color theory. When I was in Vancouver last month I sat down with Ana Viseroiu, CEO of AnaVBeauty, and put together a basic lesson for you on color correcting under eye circles.
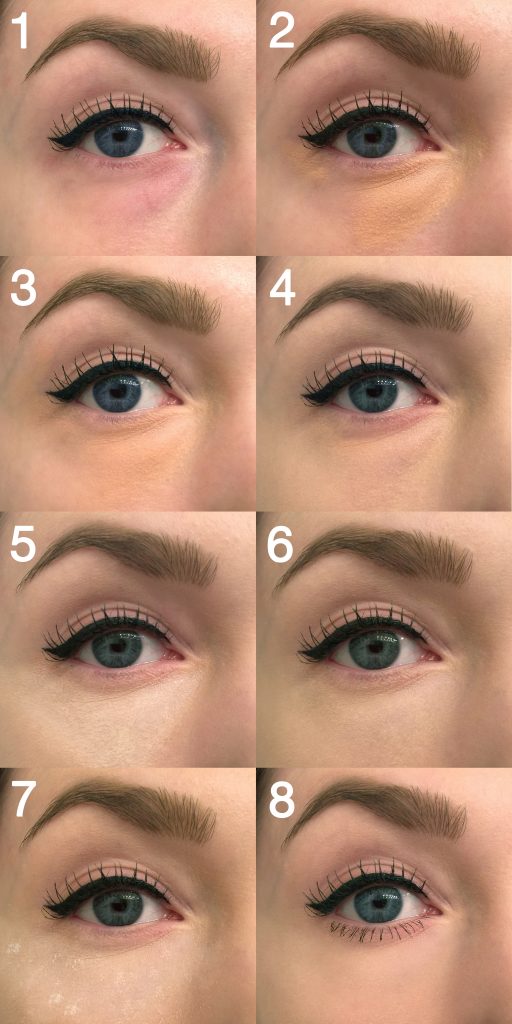
1. Start with clean skin that has been prepped with a primer and an eye cream of your choice. I am still experimenting with primers and eye creams right now so I don’t have any that I can particularly recommend at the moment! You can see how my under eye and either corner of my eye has a lot of purple.
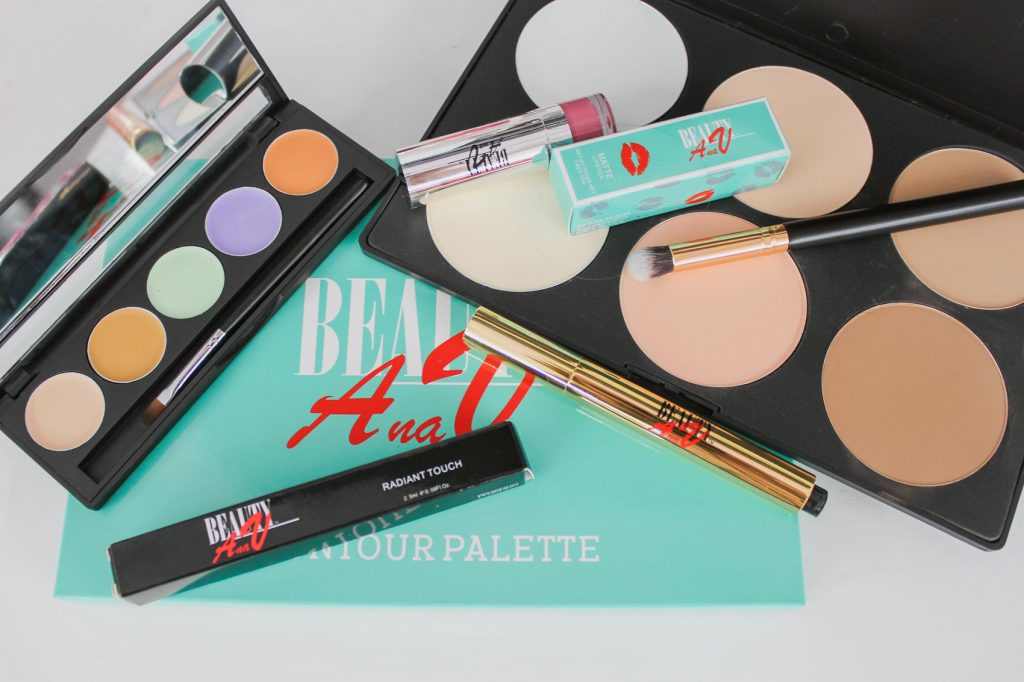
2. Since orange is on the opposite side of the color wheel from purple, we used orange concealer mixed with skin-toned concealer (both from the AnaVBeauty 5 Camouflage Cream Pallete) and covered my purple areas. You definitely want to use a brush rather than your finger so that you can be more precise. If your skin or circles are darker than mine, you can dilute the orange less than we did.
3. Use your brush to blend blend blend that orange to soften any harsh lines!
4. Apply foundation to your whole face and layer it lightly over the orange. We used the AnaVBeauty Beauty Blender to apply my favorite Lancome Teint Idole Ultra 24H Foundation. This beauty blender has completely changed my makeup routine! I’m never going back to using a foundation brush. To use it you moisten it with water, put a little foundation onto it, and then dab it onto your skin. You continue to dab at your skin until the product blends in, and the result looks completely airbrushed!
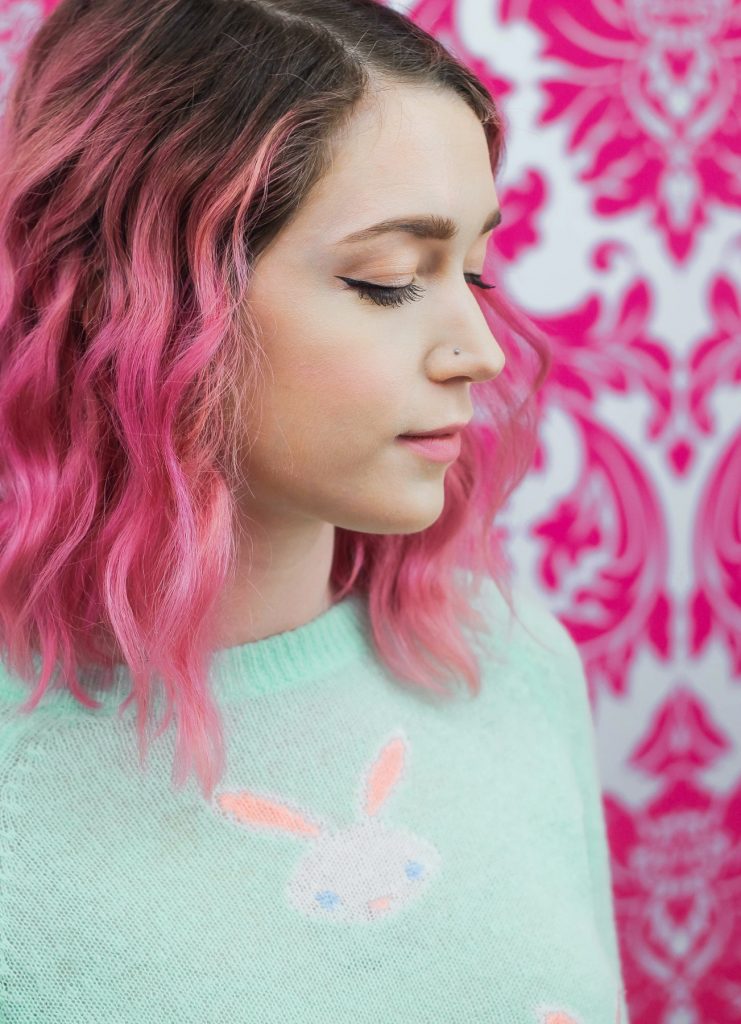
5. Next apply an illuminating concealer in a triangle underneath your eye. We used the AnaVBeauty Radiant Touch Highlight Pen. Taper one point of the triangle toward you temple, one toward the inner corner of your eye, and one roughly in line with your nostril crease. Since under eye bags are round in shape, the triangle not only highlights your cheek bone but masks this circular shape underneath.
6. Blend blend blend!!
7. Use your beauty blender to pack loose powder on top of that same triangular area. Right now I am using Too Faced Primed & Poreless. Leave the powder for about 5 minutes while you do your brows, eyeliner, etc. This process is called “baking” and is super trendy right now. As the powder sits, it absorbs the oils from your makeup and prevents it from creasing later in the day. It also helps to create a seriously epic highlight. It has been used for ages by drag queens but was more recently popularized by Kim Kardashian.
8. Dust off your powder, apply mascara to your lower lashes, and you are done! Enjoy your concealed, highlighted, and crease-free under eyes!
——————————————————-
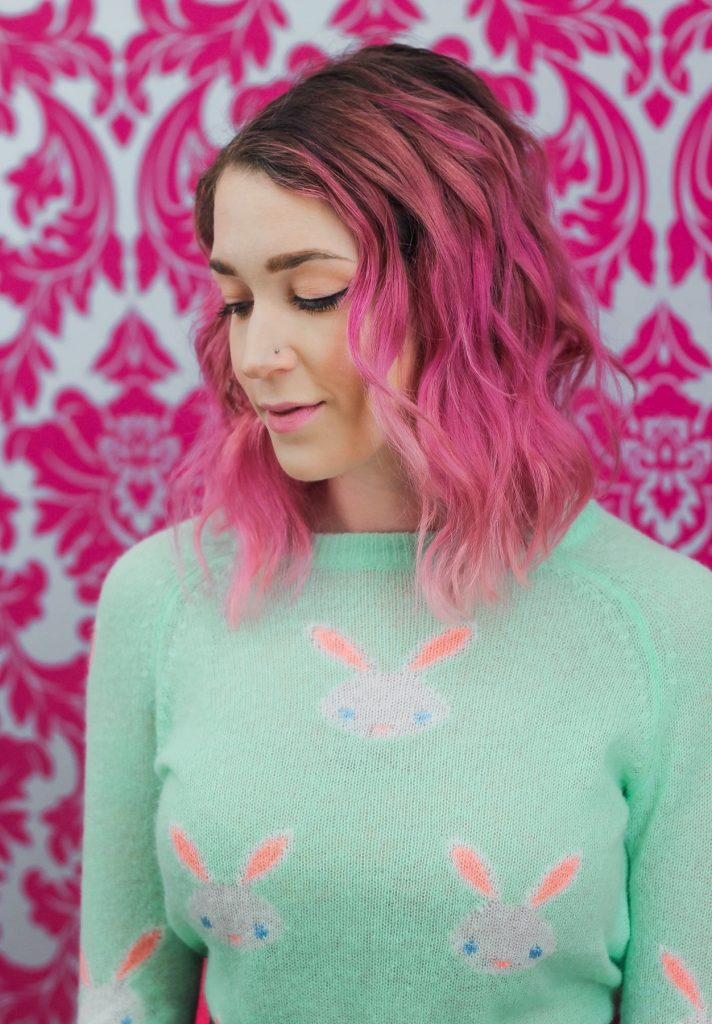
Other products I’m wearing:
Brows: Anastasia Beverly Hills Brow Wiz
Cheeks: AnaVBeauty Contouring Kit
Eyeliner: MAC Liquid Last
Mascara: Fairy Drops Scandal Queen
Lipstick: AnaVBeauty Matte Lipstick in “Tiana”
——————————————————-
Now here’s the exciting part!!! Ana and I are teaming up to host a giveaway of practically everything used to achieve this look. Take a peek at what is included:
AnaVBeauty 5 Camouflage Cream Pallete $35
AnaVBeauty Contouring Kit $45
AnaVBeauty Radiant Touch Highlight Pen $32
AnaVBeauty Matte Lipstick in “Tiana” $22
Hybrid Concealer Brush $22
TOTAL VALUE $156!!!
Keep an eye on my Instagram this week for all the details and instructions!
